A Complete Air Compressor Repair Guide [2024 Infographics]
Discover the key factors that influence whether you should opt for air compressor repair or replacement. Reduce costs and make informed decisions with our comprehensive guide.
By the way, I am your friendly neighborhood DIYer “Han” not Spiderman. In today’s epic DIY session, I’ll be providing you with insights and presenting a helpful table and infographic for easy reference.
You are going to explore factors such as compressor reliability, energy efficiency, repair costs, and repair history to make the right choice for your compressor. The reason is it’ll reduce your overall costs.
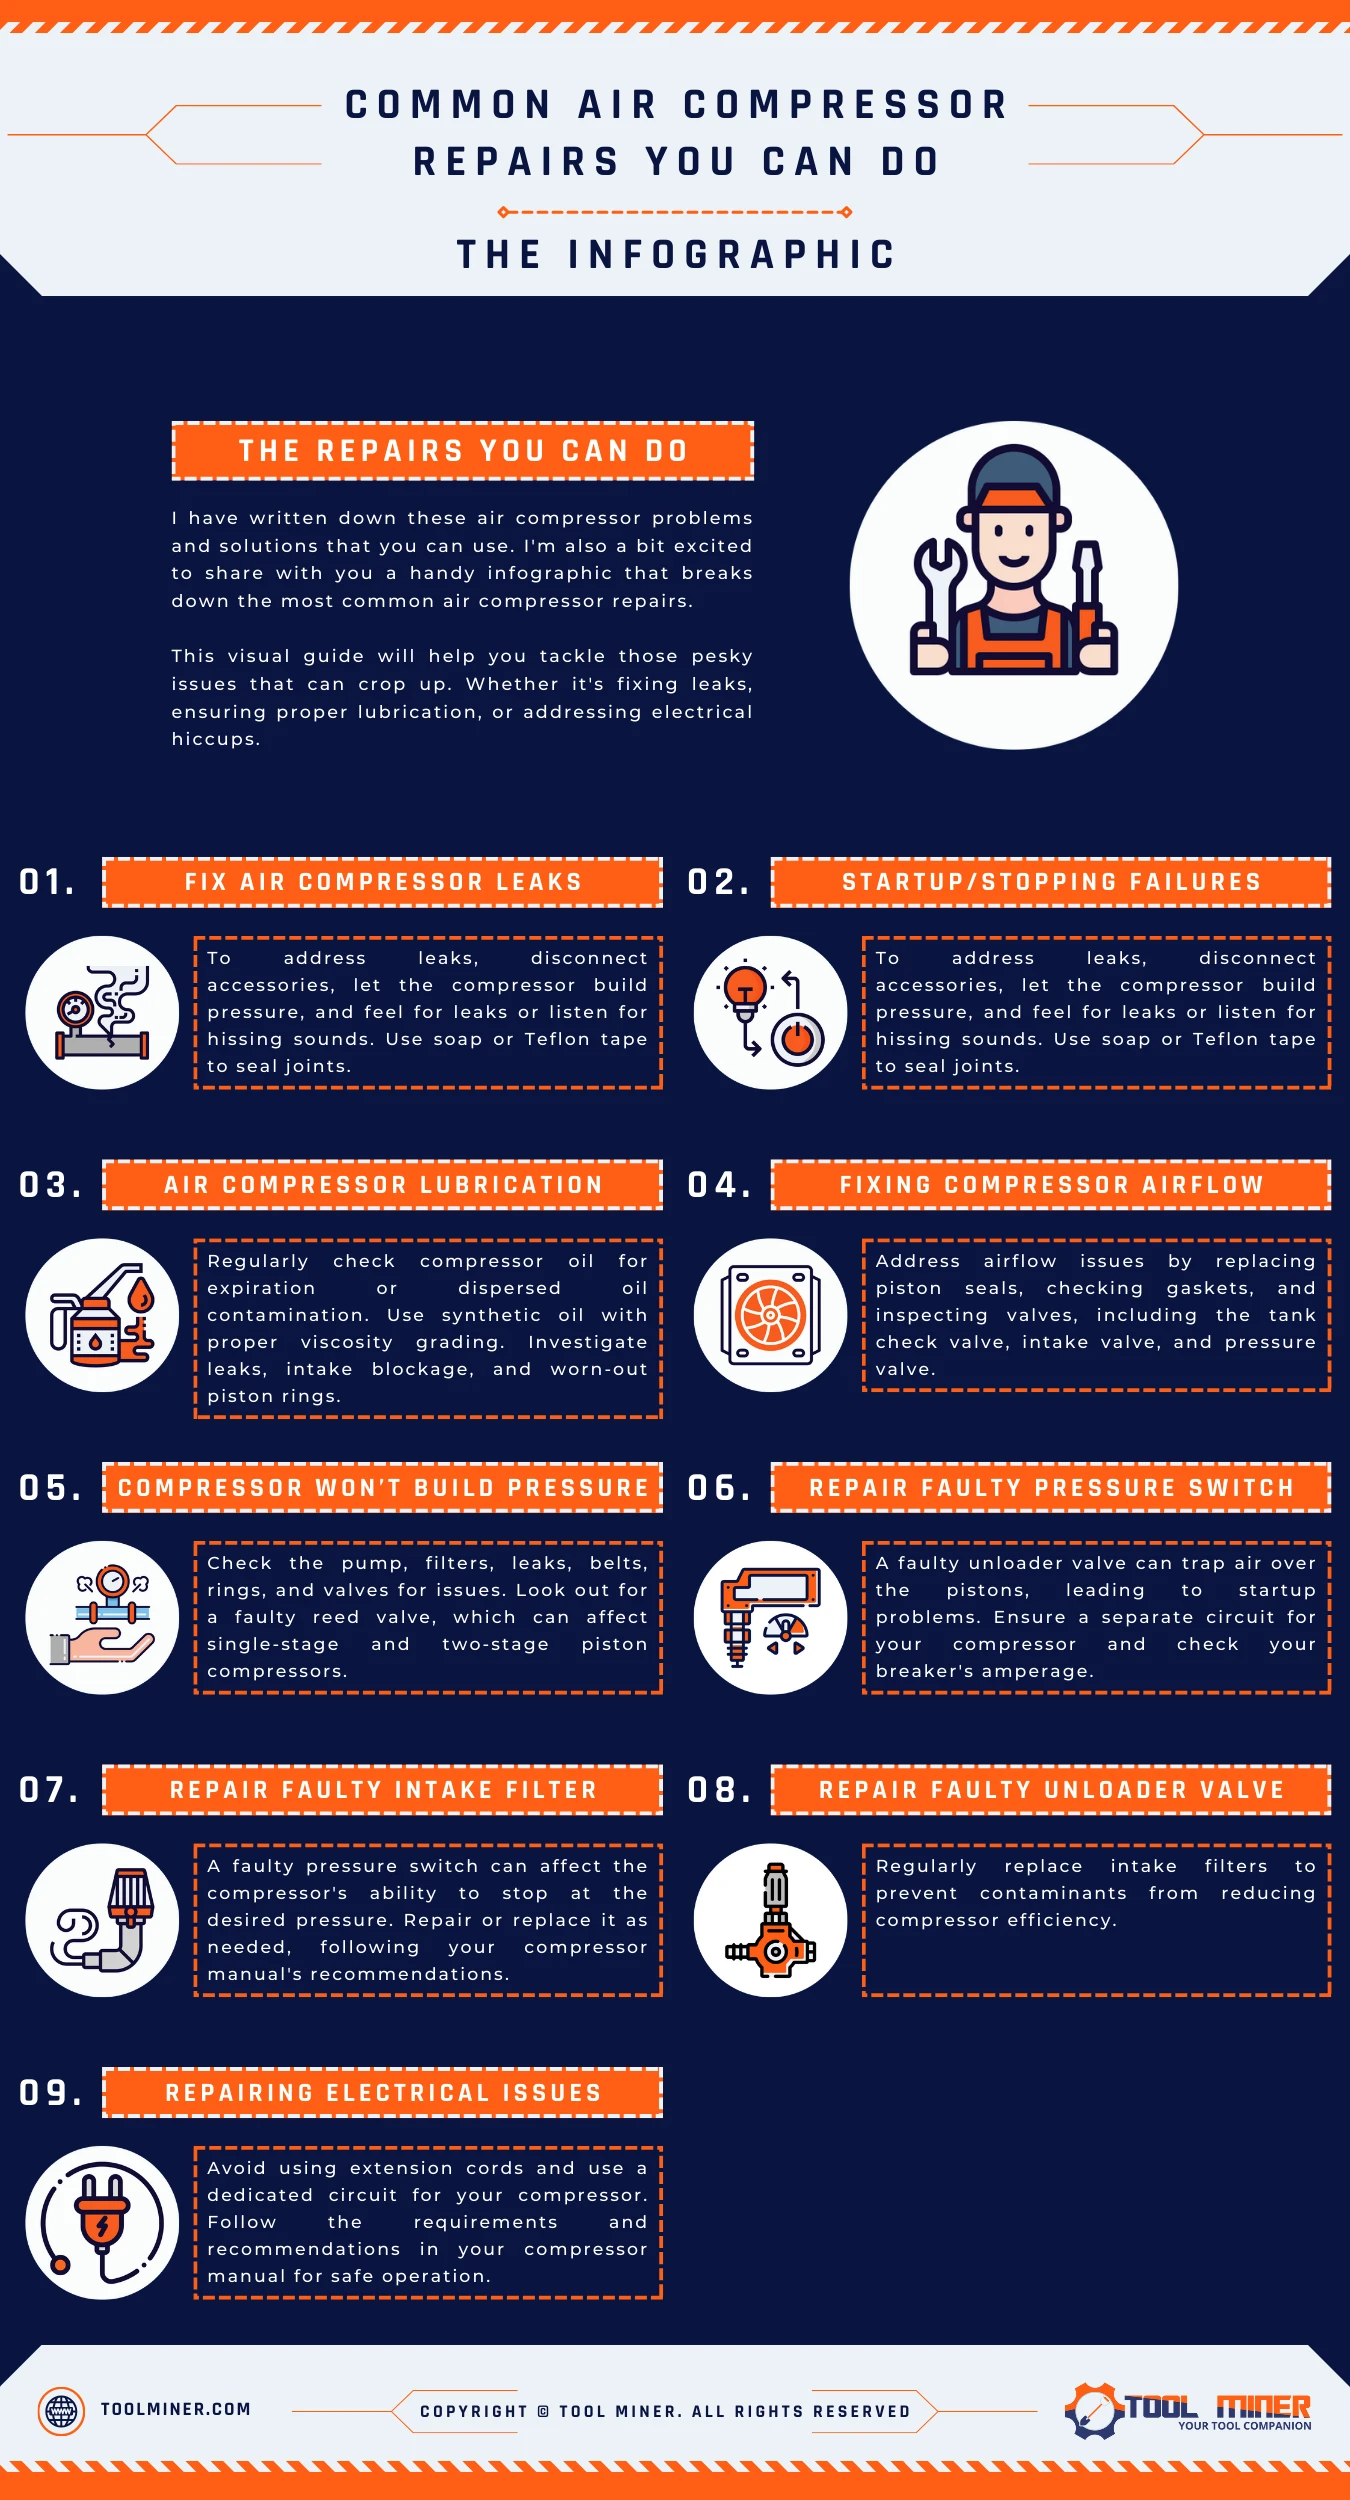
My buddy Haseeb has also designed a bonus infographic for you, highlighting common air compressor repairs you can tackle yourself.
My advice to you is don’t let compressor problems linger – find solutions and maximize your equipment’s lifespan.”
Air Compressor Repair Vs Replacement
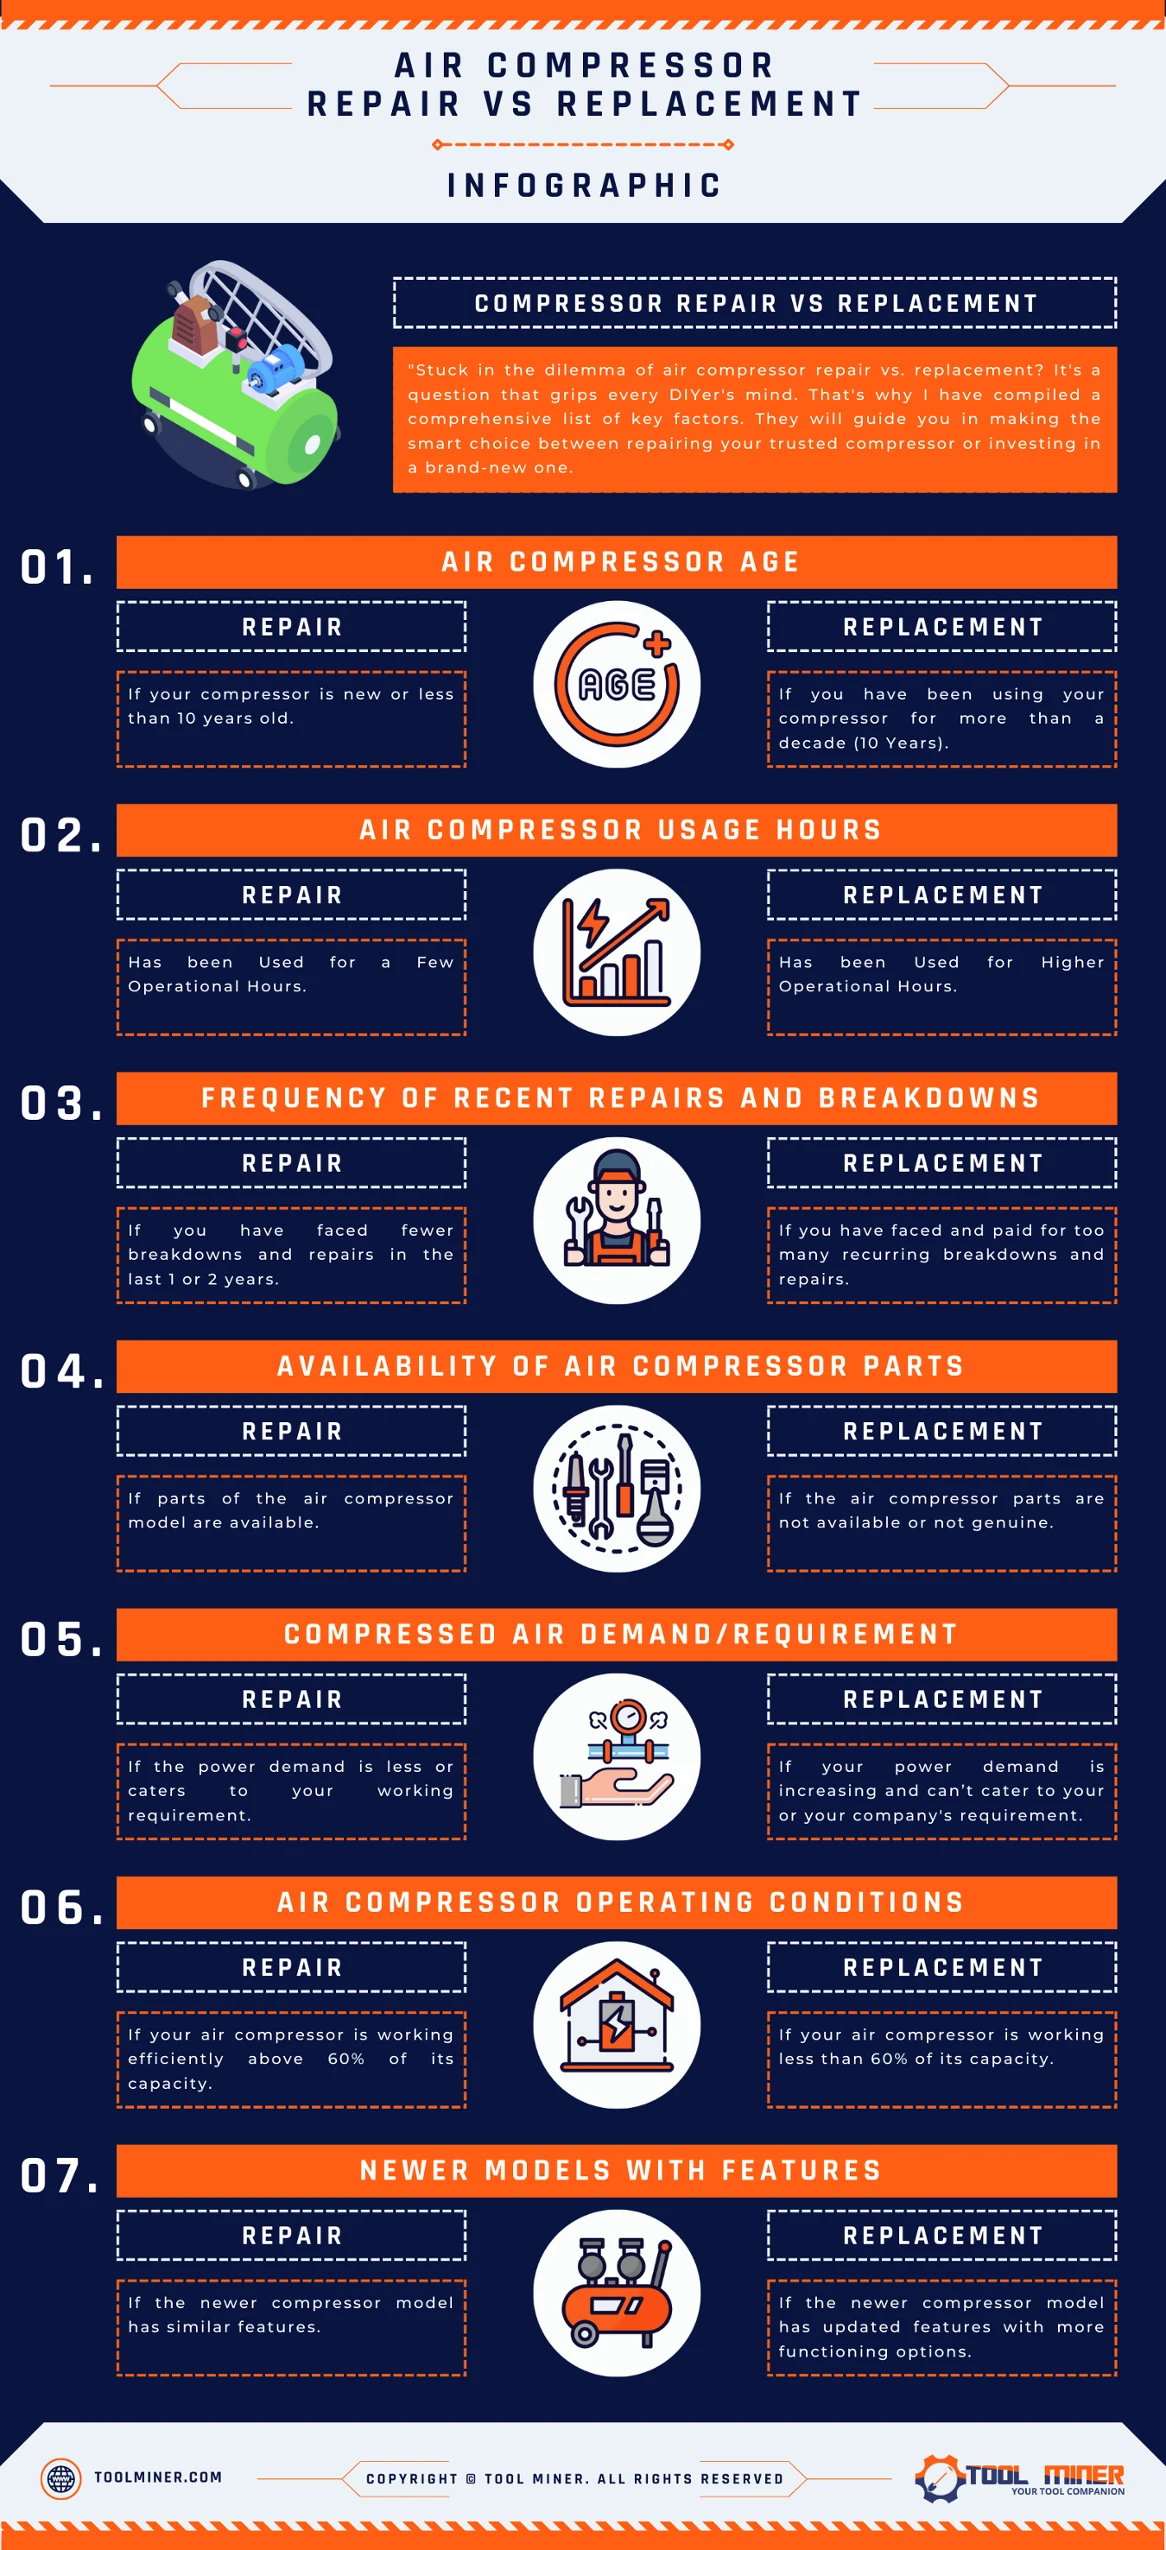
“Stuck in the dilemma of air compressor repair vs. replacement? It’s a question that grips every DIYer’s mind. That’s why I have compiled a comprehensive list of key factors.
They will guide you in making the smart choice between repairing your trusted compressor or investing in a brand-new one.
Air Compressor Repair Vs Replacement Table
| No | Factors | You Need To Repair | You Need To Replace |
|---|---|---|---|
| 01 | Air Compressor Age | If your compressor is new or less than 10 years old. | If you have been using your compressor for more than a decade (10 Years). |
| 02 | Air Compressor Usage Hours | Has been Used for a Few Operational Hours | Has been Used for Higher No of Operational Hours |
| 03 | Frequency of Recent Repairs and Breakdowns | If you have faced fewer breakdowns and repairs in the last 1 or 2 years | If you have faced and paid for too many recurring breakdowns and repairs |
| 04 | Availability of Air Compressor Parts | If parts of the air compressor model are available | If the air compressor parts are not available or not genuine |
| 05 | Compressed Air Demand/Requirement | If the power demand is less or caters to your working needs | If your power demand is increasing and can’t cater to your or your company's needs |
| 06 | Air Compressor Operating Conditions | If your air compressor is working efficiently above 60% of its capacity | If your air compressor is working less than 60% of its capacity |
| 07 | New Air Compressor Models With Features | If the newer compressor model has similar features | If the newer compressor model has updated features with more functioning options |
Air Compressor Repair vs Replacement Infographic
Air Compressor Age
The compressor age refers to the overall years that you’re using your compressor. If you have bought your air compressor recently and it causing issues then you need to check with your company or talk to an air compressor service near you.
If your compressor is pretty much old like for a decade (which is 10 years) then you need to consider replacing it with a newer model.
Air Compressor Usage Hours
The air compressor usage hours are also connected to the above compressor age as well. If your compressor’s total number of operational hours is few and it has started causing problems then you need to opt for repair.
The reason is after buying a new compressor you’re going to use different attachments for various types of projects like nailing, blowing, stapling, inflation, etc.
So, it’s given that attachments or tools you’re using can cause problems. If not then the oil you’re using can act up given that you’re using an oil-lubricated air compressor
In this case, I advise you to read the compressor manual to check its power range to verify which airtools it can support.
Now, on the flip side of the coin if you’re compressor is old and worn out. Plus, if you’re using it for high operational hours then it’s wise to get a newer model.
Another important thing regarding usage is how demanding airtools you’re using or how demanding your job is. So, rather than repairing and investing a lot of money, you should go for a replacement.
Frequency of Recent Repairs and Breakdowns
Another crucial thing you need to keep in mind is the frequency of air compressor repairs and the compressor breakdowns you have faced.
If you have faced fewer breakdowns and repairs in the last 1 or 2 years of usage then it’s normal to get an air compressor checkup.
I suggest you make a schedule for air compressor maintenance. Because for a reliable compressor, a repair is a total worth.
Now, on the other hand, If you have faced and paid for too many recurring breakdowns and repairs then that compressor is a lost cause.
Why you ask, the answer is “Compressor Energy Efficiency”. I get that you love your machine and you do wanna get it repaired.
But, it’s only going to reduce the compressor efficiency and lower your work performance. Oh! Forgot to mention it’ll also increase the overall usage cost, maintenance cost, and your electricity bill.
Availability of Air Compressor Parts
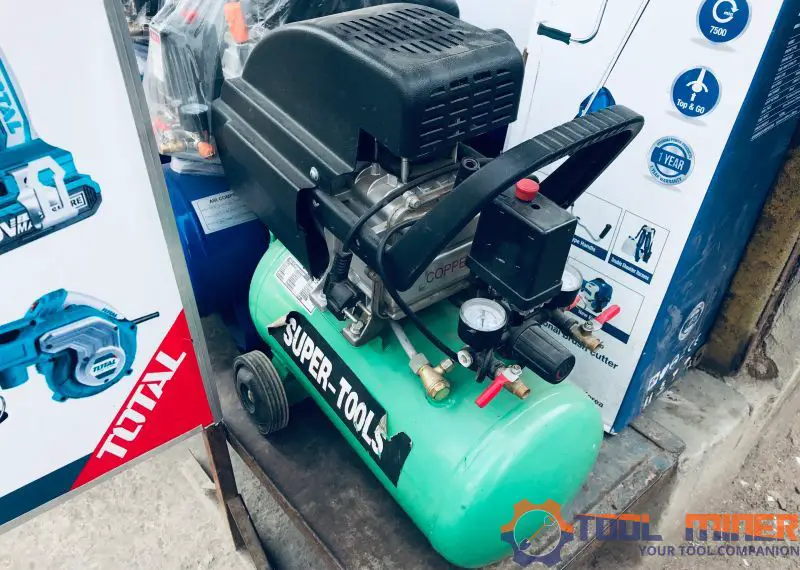
Now, this one even bugs me a lot. Because I bought a local garage air compressor and now finding reliable compressor parts for this dud is a big hassle.
Here’s a picture of my infamous compressor and of course I am being sarcastic.
I advise you to never buy a local compressor, always go for a branded one i.e., Makita, Dewalt, Quincy, Porter Cable, Bostitch, etc. Plus, you should always keep a tab on the availability of air compressor parts.
And do keep in mind that you can’t just buy any compressor part and put it in your compressor. It will damage the compressor or the compressor won’t function properly.
These compressors have models and parts are manufactured according to specific functionality, and requirements.
Even if you buy a non-genuine part it’ll only void the compressor warranty. Because almost every compressor brand doesn’t allow the use of other brands or local compressor parts.
So, if your compressor is reliable and the needed genuine parts are available in the market then go for a repair. If your compressor is still under warranty then talk to your compressor manufacturer, they can replace the parts.
I also advise you to check with the air compressor service near you they are a great help as I have dealt with.
Compressed Air Demand/Requirement
After resolving the compressor parts’ hassle, the next challenge is the compressed air demand or requirement. You see if your compressor had many repairs in the past and has been used for many years.
Then sorry mate! It’s time up for that guy. Because the compressor becomes worn out due to continuous use and is not able to meet power demand.
Whether it’s an industrial 80-gallon compressor or larger (120 and 240 gallons) being used in an organization. Or even a small air compressor used by DIYers like you and me.
The user has to take into consideration many factors. Such as maintenance/repair costs, and compressor parts costs if needed.
If the power demand is less and caters to your working needs then opt for compressor repair. But, do keep in mind energy efficiency will decrease as more and more repairs add up.
If your power demand is increasing and the compressor can’t meet your or your company’s requirements then buy a new compressor.
Although getting a new compressor seems costly at first. But, the overall decrease in maintenance/repair costs, increased energy efficiency, and reliability will lower the electricity bills.
Air Compressor Operating Conditions
As I have talked about “Energy Efficiency” above that applies here as well. If your air compressor is operating efficiently above 60% of its capacity then it’s a good sign.
At this point, if the compressor shows any problem and needs troubleshooting you can fix it by replacing the faulty parts.
But, If you find out that your air compressor’s energy efficiency has decreased and it is operating at less than 60% of its capacity. Then you should replace your air compressor without any hesitation.
Newer Models With Features
Let me just give you a gist of the air compressor industry before I move forward.
The global air compressor market according to Grand View Research is valued at 33,625.7 million in 2022 which is expected to grow at a compound annual growth rate (CAGR) up to 3.4%.
Grand View Research
Every year newer compressor models are launched due to the competitive market. Just take an example of Makita which I prefer Makita for my DIY projects.
In recent years, they have launched a new Makita’s quiet series MAC100Q, MAC210Q, and MAC320Q compressors. They are amazingly silent with a 60dB noise level or even less.
If the compressor brand you’re using has a newer model with similar features then going for a repair is viable in case your compressor needs fixing.
If the newer compressor model has updated features with more functioning options and relatively high energy efficiency then you should prefer getting the newer model. Here, if you ask me, then I’ll be opting for the new model.
Common Air Compressor Repairs You Can Do
Because of the above case scenarios I have written down these air compressor problems and solutions that you can use. I’m also a bit excited to share with you a handy infographic that breaks down the most common air compressor repairs.
This visual guide will help you tackle those pesky issues that can crop up. Whether it’s fixing leaks, ensuring proper lubrication, or addressing electrical hiccups. Let’s, get down the air compressor repair list:
- Fix Air Compressor Leaks
- Startup/Stopping Failures
- Air Compressor Lubrication Oil Issue
- Fixing Compressor Airflow
- Air Compressor Won’t Build Pressure
- Faulty Air Compressor Pressure Switch
- Replacing Faulty Intake Filter
- Replacing Faulty Unloader Valve
- Repairing Electrical Issues
Fix Air Compressor Leaks
Leaks are one of the most common air compressor problems that’s why I put them on top of the list. Now, you first need to detach every accessory or hose connected to the compressor.
Then let the compressor build pressure afterwards you can check and verify by using your hand. Keep in mind that leak mostly happens in weak points such as connectings/joints.
You can use your hand to feel air leaking out or listen to the hissing sound. Another way is to apply a thin layer of soap on connections as air leaks out bubbles will form.
You can repair it by using the Teflon tape to properly seal the joints.
Repair Air Compressor Startup/Stopping Failures
The next common thing to happen is compressor startup or it fails to stop. First, before you check the compressor parts. Verify that the power source you are using is reliable and can hold compressor load.
Don’t use extensions instead use a direct power source and verify that the power cord is properly connected. Also, check breakers, and fuses if they tripped or blown up.
If these are clear then move on to examine the compressor parts such as the pressure switch, and unloader valve. One more thing I recommend is to check the compressor oil level
Further on check the cut-in and cut-out pressure, and make sure to adjust the pressure set points. The cut-in pressure should always be lower than the cut-out pressure.
Air Compressor Lubrication Oil Issue
The third in line is always our old buddy “The Compressor Oil”. As you have seen above inadequate compressor lubrication is also one of the most common problems.
We know that oil-lubricated compressors compared to oil-free are more reliable. But, you have to keep an eye on the oil lubrication and maintenance. Because air compressor oil issues can severely damage your compressor.
Now, there are two cases you should check on.
Air Compressor Oil Expiration
First is “If your compressor oil is expiring quickly”. This happens when the oil has improper viscosity. I recommend you get synthetic compressor oil instead of regular compressor oil as they have better viscosity grading and additives.
If you’re already using a synthetic oil with 20 or 30 weight. Then there are other factors that lead to quicker oil expiration i.e., leaks, intake blockage, and worn-out piston rings.
Dispersed Oil Contamination
The second problem is “Dispersed Oil” which causes cracking or swelling in the compressor seals. It also affects other compressor parts.
When this happens check if there is intake blockage, excessive oil in the tank, piston rings are damaged or inverted, or you have the wrong viscosity oil.
Repair Compressor Airflow
If you have airflow problems meaning compressor builds too much pressure or too low pressure. First I ask you to repair or replace the piston seals, they are present between the pistons and help in sealing the combustion chamber.
Secondly, you should check the compressor gasket if it is damaged or not. Make sure the type of gasket you’re using because they do come in different materials.
If all these above are in good condition then you should be focusing on valves. The culprits can be the tank check valve, intake valve, or pressure valve. So, investigate and repair/replace them if they have problems.
Air Compressor Won’t Build Pressure
If the compressor won’t build pressure then it is likely caused by a faulty pump, dirty filters, above air compressor leaks, worn out belt, or you’re having gasket issues.
Another thing you should be checking are rings and valves if they are busted up or misaligned. A defective reed valve can be behind all this. It happens in single-stage and two-stage piston compressors
Replacing the Faulty Unloader Valve
Above I did mention breaker tripping and fuses blowing up that’s likely caused by this little guy. A faulty unloader valve can lead to air getting trapped over the pistons causing trapping at startup.
Also, before you get to this guy make sure to check the circuit. In many cases, the compressor needs its separate circuit to properly work. Check the amperage on your compressor’s manual and investigate whether your breaker is powerful enough or not.
As for my compressor, I have a separate circuit board that draws power only to it. I did face the breaker tripping and the fuse blowing up. So, I Installed a separate circuit for it.
Faulty Air Compressor Pressure Switch
One of the issues I recently fixed was wiring a pressure switch. Having a faulty pressure switch from time to time is a natural thing.
However, it can be problematic because the pressure switch is the one that tells the compressor to stop when the desired pressure is reached.
So, if you’re gonna go for pressure switch repair then it’s fine. But, as for replacement, you should first check your compressor manual for what type of pressure switch your compressor needs.
Replacing Air Compressor Intake Filter
The air compressor intake filters mostly get damaged as they are present outside. These small guys need replacements regularly as they eliminate any contaminants i.e., dust or debris that the compressor sucks in.
If the intake filter doesn’t work properly the contaminants will reduce your air compressor efficiency by diminishing its functioning.
Repairing Electrical Issues
The last thing I wanna tell you simply is power connections. As I have said earlier, the compressor trips breakers and blows up fuses. To minimize this risk, don’t use extension cords. Use a dedicated circuit just for your compressor.
I don’t prefer extension cords for most air compressors. But, if you wanna use an extension cord then use a heavy one. Also, keep in mind the breaker amps, compressor motor volts, HP, and distance you’re at.
Your compressor manual has the requirements and recommendations you should complete and follow.
Bottomline!
Huff! I am tired now. Well, guys that’s all for this endeavor. I hope you’re able to repair your compressor smoothly with our above infographics.
Let me know what you faced and I can add your experience in our DIYer Section. Keep in mind that air compressor repair is an important duty that you need to perform.
If you’re facing an issue that you can’t solve on your own. Then I recommend you to check with the air compressor service near you to avoid any costly expense.
Air Compressor Repair Guide FAQs
What is an air compressor unloader valve?
An air compressor unloader valve is a small, mostly brass-colored part that is located with the compressor pressure switch. Its main function is to vent out the trapped tank air in the compressor to reduce the load on the piston so the motor can start again. It usually sizes up 4″ to 5″ in length/width.
How to fix an air compressor that won’t start?
Your compressor not working due to a faulty check valve, pressure switch, or the motor pump itself. Replace the check valve, if there’s air in the tank and still air compressor won’t start. If there’s no air in the tank and the pressure switch doesn’t start the pump motor then replace the compressor pressure switch. Finally, replace the pump motor itself, if the pressure switch is doing good but the motor is not starting up.
Why is my air compressor leaking air?
The air compressor leaking problem is caused due to the check valves that failed to shut off completely. Leak in the air compressor oil cap or fill tube, you should verify the piston seals and replace them. And finally, air leaked out from the compressor hood caused by a faulty tank valve. It mostly happens in small air compressors.
Why is my air compressor slow to build pressure?
Usually when an air compressor takes longer to fill it is due to a failing pressure/intake valve, due to a pump gasket, or a pump seal problem.
Why is My Air Compressor Humming but Not Starting?
This issue may be caused by a faulty unloader valve, which traps air and prevents the compressor from starting. Alternatively, the incorrect voltage supplied to the motor, whether too high or too low, can also lead to the compressor humming without starting.

